
Introduction
Hello, tech-savvy friends! If you're here, chances are your iPhone's charging port is giving you grief. Maybe it's loose, perhaps it's not charging at all, or it could just be full of fluff (it happens to the best of us!). Before you rush off to the Apple Store or your local repair shop, why not have a go at fixing it yourself? In this ultimate guide, I'll walk you through a DIY iPhone charging port repair step by step. It's easier than you think, and with a bit of patience, you can save yourself some serious cash. So, grab your toolkit, and let's get started!
What You'll Need
First things first, you'll need a few essentials to tackle this project. Don't worry; you won't need anything too fancy! Here's your shopping list: a replacement charging port (make sure it's compatible with your iPhone model), a precision screwdriver set (preferably with a pentalobe and Phillips heads), a plastic spudger or opening tool, tweezers, a suction cup, and a heat gun or hairdryer. Oh, and a clean, well-lit workspace is a must—you don't want to lose any tiny screws! You can find all these tools online or at your local electronics store. Investing in a good toolkit will make the process smoother and more enjoyable.
Safety First: Precautions to Take
Before we dive into the nitty-gritty, let's talk safety. iPhones are delicate devices, and a wrong move could cause more harm than good. Always power off your iPhone completely before starting any repair. Disconnect the battery as soon as you have access to it to avoid any short circuits. Work slowly and carefully—this isn't a race! If you feel unsure at any point, it's okay to pause and reassess. Remember, patience is key here. Also, keep magnets away from your iPhone to prevent any interference with internal components. Safety might not be the most exciting part, but it's crucial for a successful repair.
Step-by-Step DIY iPhone Charging Port Repair
Ready to roll up your sleeves? Let's break down the DIY iPhone charging port repair step by step. I'll guide you through each stage to ensure you feel confident and in control.
Step 1: Remove the Screen
Start by heating the edges of your iPhone with a heat gun or hairdryer on a low setting for about a minute to soften the adhesive. Then, attach the suction cup near the bottom of the screen and gently pull upwards to create a small gap. Slide your plastic spudger into the gap and carefully work your way around the edges to separate the screen from the body. Be patient—this part can be tricky, but take your time to avoid damaging the display cables.
Step 2: Disconnect the Battery and Cables
Once the screen is lifted (but not fully removed), you'll see several cables connecting it to the logic board. Use your spudger or tweezers to carefully disconnect the battery cable first—this is vital to prevent any electrical issues. Next, disconnect the display and digitizer cables. Now, you can safely set the screen aside. Remember to handle it with care to avoid cracks or scratches.
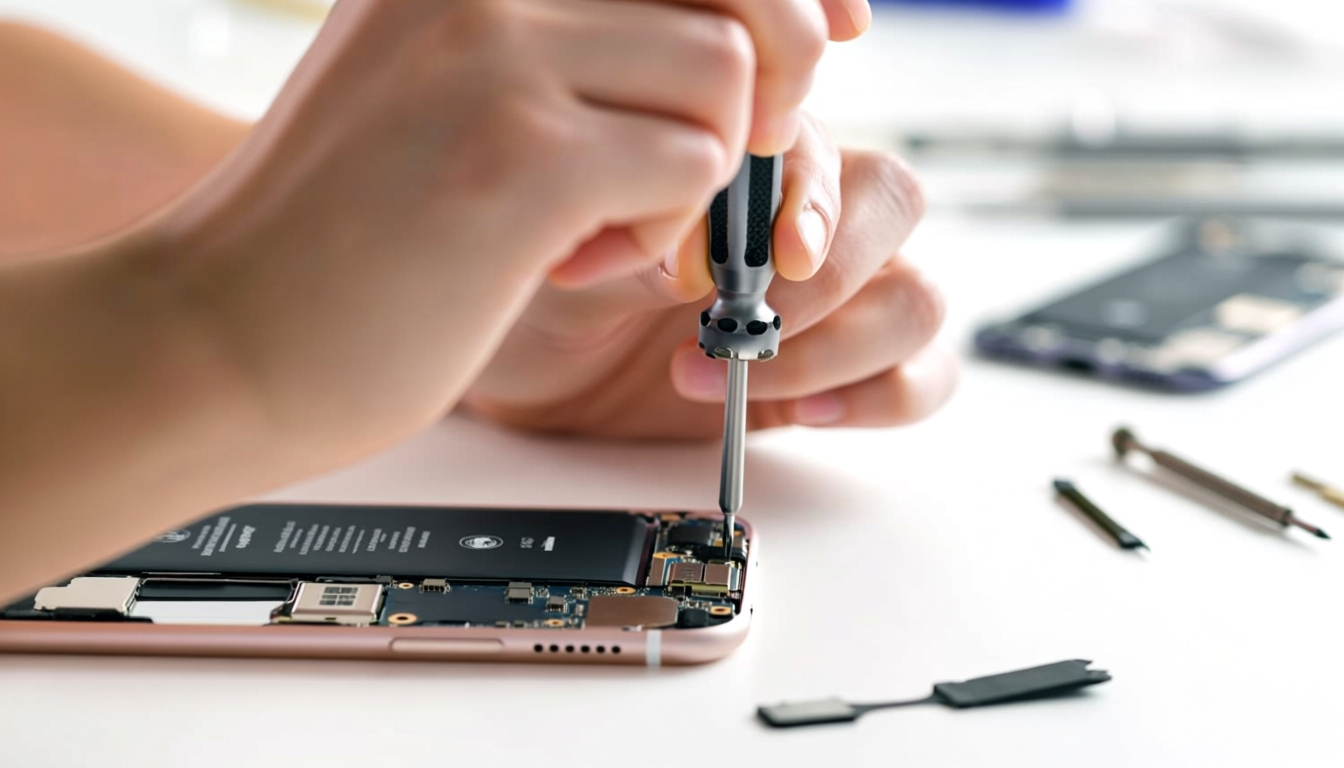
Step 3: Access and Remove the Old Charging Port
With the screen out of the way, locate the charging port assembly. It's usually secured with a few screws. Using your precision screwdriver, remove these screws and gently lift the old charging port out. You might need to disconnect a cable or two attached to it—use your tweezers for precision. Take a moment to clean any dust or debris from the area before installing the new part.
Step 4: Install the New Charging Port
Now for the fun part—installing your new charging port! Carefully place it into position, ensuring it aligns properly with the screw holes. Reconnect any cables you disconnected earlier, then secure it with the screws. Double-check that everything is snug and connected. This is a great time to test the new port by temporarily reconnecting the battery and plugging in a charger—if it works, you're golden! If not, recheck your connections.
Step 5: Reassemble Your iPhone
Almost there! Reconnect the display and digitizer cables, then the battery cable. Carefully lower the screen back into place, pressing gently around the edges to reactivate the adhesive. If your adhesive is worn, you might want to apply a new strip to ensure a secure fit. Finally, power on your iPhone and test the charging port again. Congratulations—you've successfully completed a DIY iPhone charging port repair step by step!
Common Issues and Troubleshooting
Even with careful work, sometimes things don't go perfectly. If your iPhone isn't charging, double-check all cable connections and ensure the port is seated correctly. If the screen isn't responding, you might have nicked a cable—inspect for any damage. Don't panic; most issues are fixable with a bit of patience. If you're stuck, there are plenty of online forums and videos to help you out. Remember, practice makes perfect!
Conclusion
Well done, you! By following this DIY iPhone charging port repair step by step, you've not only saved money but also gained a valuable new skill. iPhones might seem intimidating, but with the right tools and guidance, anyone can tackle repairs like a pro. I hope this guide was helpful and made the process fun. If you enjoyed this, feel free to explore more articles on my blog for other DIY fixes. Happy repairing, and here's to many more charged-up days with your iPhone!