
Why Replacing Your PS5's Thermal Paste is a Game-Changer
Hey there, fellow gamers! If your PS5 has been sounding more like a jet engine than a console lately, it might be time to give it a little TLC. Over time, the thermal paste that helps keep your console cool can dry out, leading to overheating and noisy fans. But fear not! Learning how to replace PS5 thermal paste is easier than you might think, and it can seriously boost your console's performance. Stick with us, and we'll walk you through every step, making sure you're confident and ready to tackle this DIY project.
What You'll Need for the Job
Before we dive in, let's gather our tools. You'll need a few things to get started: a Phillips head screwdriver (size PH1 is perfect), some isopropyl alcohol (90% or higher works best), lint-free cloths or cotton swabs, and of course, a high-quality thermal paste—we recommend something non-conductive like Arctic MX-4. Oh, and don't forget an anti-static wrist strap to keep your console safe from any pesky static electricity. Having everything ready will make the process smooth and stress-free.
Step 1: Safety First – Unplug and Prepare Your Workspace
First things first, safety! Always unplug your PS5 from the power source before you start. Find a clean, well-lit area to work in—a table with plenty of space is ideal. Lay down a soft cloth to protect your console's exterior from scratches. Pop on that anti-static wrist strap and attach it to something grounded to avoid any static shocks. Remember, taking your time here sets you up for success later.
Step 2: Carefully Disassemble Your PS5
Now, let's get into the nitty-gritty. Gently remove the side panels of your PS5—they just slide off with a bit of pressure. Next, you'll need to unscrew the outer casing. There are several screws to remove; keep them organised in a small container so you don't lose any. Once the casing is off, you'll see the fan and heat sink. Carefully disconnect the fan cable and remove the fan to access the APU (that's the main processor).
Step 3: Clean Off the Old Thermal Paste
Here's where things get a bit messy! You'll see the old thermal paste on the APU and heat sink. Dab a lint-free cloth or cotton swab in isopropyl alcohol and gently wipe away the old paste. Take your time and be thorough—any leftover residue can affect cooling. Once both surfaces are clean and dry, you're ready for the new paste.
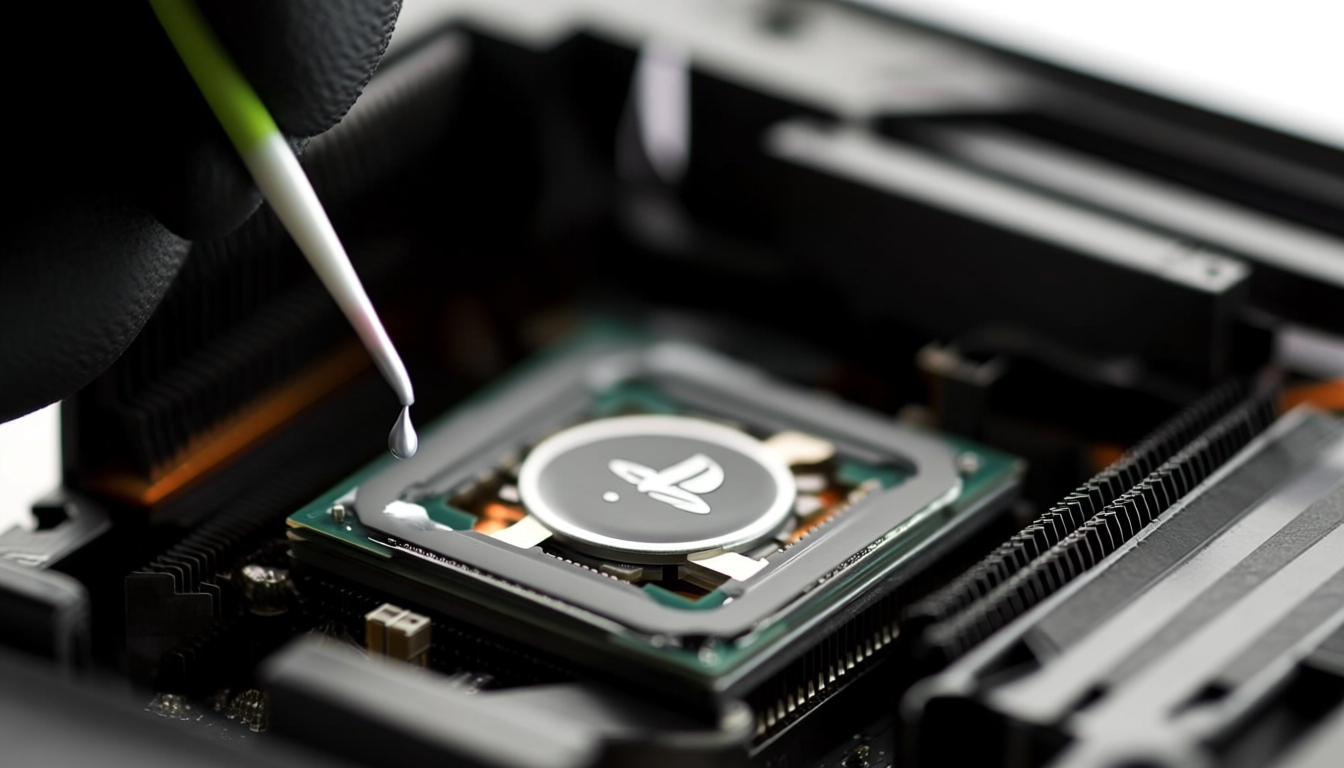
Step 4: Apply the New Thermal Paste
Time for the main event! Squeeze a small pea-sized amount of thermal paste onto the centre of the APU. You don't need loads—too much can cause issues, so less is more here. Avoid spreading it with your finger; the pressure from reassembling will spread it evenly for you.
Step 5: Reassemble Your PS5
Now, reverse the disassembly process. Carefully reattach the heat sink and fan, making sure everything is snug and secure. Screw everything back in place, pop the side panels on, and you're almost done! Double-check all connections before moving to the next step.
Step 6: Test Your Console
Plug your PS5 back in and power it up. Listen for any unusual noises and keep an eye on the fan. Play a game for a bit to see if things are running cooler and quieter. If all seems well, congratulations—you've successfully learned how to replace PS5 thermal paste!
Wrapping Up and Next Steps
Well done, you've given your PS5 a new lease on life! Regular maintenance like this can extend your console's lifespan and keep it running smoothly. If you enjoyed this guide, why not share it with other gamers? Feel free to explore our blog for more tips and tricks. Happy gaming, and here's to many more hours of quiet, cool play!