
Essential Tools and Equipment for Your DIY MacBook Logic Board Repair Adventure
Welcome, brave tinkerer! If you're diving into the world of DIY MacBook logic board repair, you're about to embark on an exciting journey. Whether you're fixing a stubborn issue or just love getting hands-on with tech, having the right tools is absolutely essential. This DIY MacBook logic board repair guide will walk you through all the must-have equipment to set you up for success—and help you avoid any "oops" moments along the way.
Why the Right Tools Matter for Logic Board Repairs
Before we jump into the toolkit, let's chat about why using proper gear is so important. The logic board is the heart of your MacBook—it's packed with tiny, delicate components that demand precision and care. Using makeshift tools can lead to damaged circuits, accidental shorts, or worse, turning a simple fix into an expensive paperweight. With the right equipment, you'll work confidently and safely, giving your MacBook the TLC it deserves.
Must-Have Tools for Your DIY MacBook Logic Board Repair Kit
1. Precision Screwdriver Set
First things first: you'll need a high-quality precision screwdriver set. MacBooks use an array of tiny screws (we're talking Pentalobe, Torx, and Phillips heads) that standard screwdrivers just can't handle. Look for a set with magnetic tips to keep those pesky screws from going AWOL during disassembly. Trust us, hunting for a dropped screw is no one's idea of fun!
2. Anti-Static Wrist Strap
Static electricity is the arch-nemesis of logic boards. Even a tiny zap can fry sensitive components faster than you can say "oops." An anti-static wrist strap is your best defence. Clip it to a grounded surface and wear it throughout your repair to keep static at bay. It's a small investment that could save your logic board—and your sanity.
3. Soldering Iron and Desoldering Tools
For many logic board repairs, like replacing capacitors or resistors, you'll need to do some soldering. A temperature-controlled soldering iron with a fine tip is ideal for precision work. Pair it with desoldering wick or a solder sucker to clean up old joints. Practice on some junk boards first to get the hang of it—soldering is an art form!
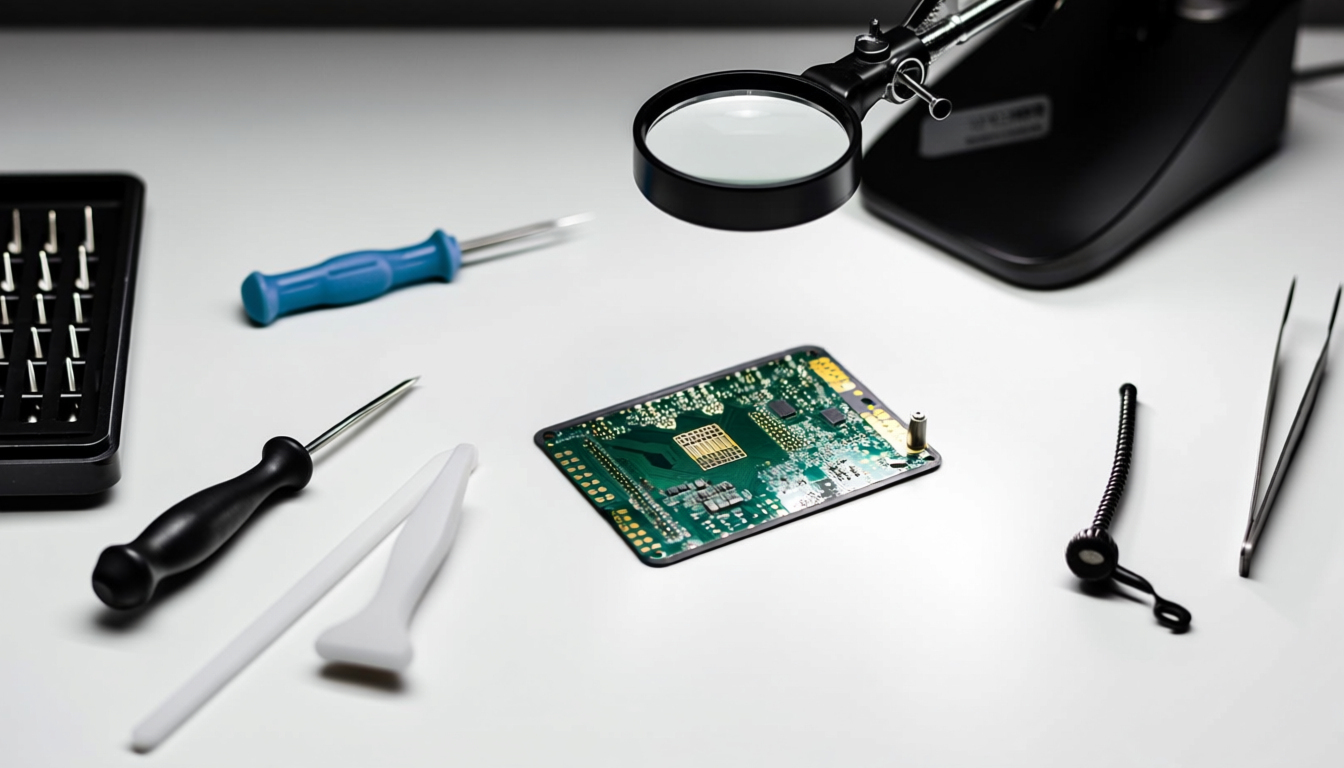
4. Magnifying Lamp or Microscope
Logic board components are minuscule, and your eyes will thank you for some magnification. A magnifying lamp or a beginner-friendly microscope helps you spot cracks, corrosion, or misplaced solder with ease. Plus, it makes you feel like a proper scientist—lab coat optional!
5. Multimeter
A multimeter is your diagnostic best friend. Use it to check for continuity, measure voltage, and test components. It takes the guesswork out of troubleshooting and helps you pinpoint issues accurately. Digital multimeters are user-friendly and widely available—just make sure you know how to use it safely.
6. Spudgers and Plastic Opening Tools
Metal tools can scratch or short-circuit your logic board, so always use non-conductive spudgers and plastic opening tools for prying and lifting components. They're gentle on your MacBook's internals and reduce the risk of accidental damage. Plus, they come in handy for all sorts of gadget repairs!
7. Isopropyl Alcohol and Brushes
Keeping things clean is key. Use high-purity isopropyl alcohol (99% is best) and soft brushes to remove dirt, flux residue, or corrosion from the board. It evaporates quickly and won't leave behind any nasty residues. A clean board is a happy board!
8. Thermal Paste
If you're removing the heat sink or CPU, you'll need to reapply thermal paste to ensure proper heat transfer. Skipping this step can lead to overheating and performance issues. A quality paste will keep your MacBook running cool and smooth.
9. Good Lighting and a Clean Workspace
Don't underestimate the power of good lighting and an organised space. A well-lit, clutter-free area helps you focus and reduces the chance of losing parts. Consider an anti-static mat to keep everything grounded and in one place.
Wrapping Up Your DIY MacBook Logic Board Repair Guide
And there you have it—the essential toolkit for tackling DIY MacBook logic board repairs! With these tools in your arsenal, you're well-equipped to handle common issues and even some tricky repairs. Remember, patience and practice are your best allies. Take your time, follow guides carefully, and don't hesitate to seek help from online communities if you get stuck. Happy repairing, and may your logic board live long and prosper!